The iPhone 5 was a revolutionary smartphone, known for its sleek design, lightweight, and functionality. Even today, this classic smartphone is being used by many users. However, as with all smartphones, the screen is one of the most common parts that get damaged. There can be instances where the screen cracks, becomes non-functional, or gets damaged, making the phone difficult to use.
At this juncture, the process of replacing the screen becomes a necessity. Whether you plan to replace the screen yourself or take your phone to a professional, knowing the process can save you a lot of time, money, and frustration.
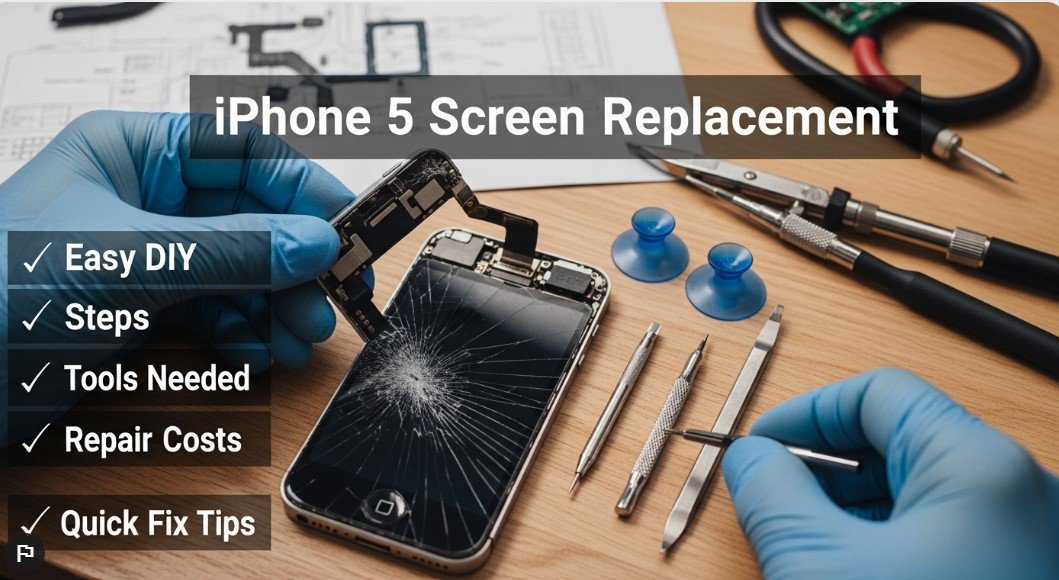
In this article, iphone 5 screen replacement we will walk you through the process of replacing the screen of your iPhone 5. We will cover all aspects, from the reasons for replacing the screen to the tools and process, along with some valuable tips.
Why iPhone 5 Screens Get Damaged
Before diving into the repair process, it’s important to understand why screen damage occurs.
Accidental Drops
Dropping your phone is the most common cause of screen damage. Even a small fall can result in cracks or shattered glass.
Pressure Damage
Keeping your phone in a tight pocket or sitting on it can create pressure that damages the screen.
Water Exposure
Although the iPhone 5 is not water-resistant, exposure to moisture can affect the display and touch sensitivity.
Aging Components
Over time, screens can develop issues like dead pixels, discoloration, or touch lag.
Signs You Need an iPhone 5 Screen Replacement
Not all screen issues are obvious. Here are key signs indicating you need a replacement:
Cracked or Shattered Glass
Visible cracks are the most obvious indicator. Even minor cracks can worsen over time.
Unresponsive Touch
If your screen stops responding or reacts incorrectly, the digitizer may be damaged.
Display Issues
Problems like flickering, black spots, or lines on the screen often mean internal damage.
Dead Pixels
Small black or colored spots that don’t change are dead pixels.
Tools Required for iPhone 5 Screen Replacement
If you’re planning a DIY repair, you’ll need the right tools:
- Pentalobe screwdriver
- Phillips screwdriver
- Suction cup
- Plastic pry tools
- Tweezers
- Replacement screen assembly
- Adhesive strips (optional)
Using proper tools ensures a safe and effective repair process.
Step-by-Step Guide to Replace iPhone 5 Screen
Step 1: Power Off the Device
Always turn off your iPhone before starting the repair to avoid electrical damage.
Step 2: Remove Bottom Screws
Use a pentalobe screwdriver to remove the two screws near the charging port.
Step 3: Lift the Screen
Attach a suction cup to the screen and gently pull upward while using a plastic tool to separate the screen from the body.
Step 4: Disconnect Battery
Before proceeding further, disconnect the battery to ensure safety.
Step 5: Remove Screen Connectors
Unscrew the metal bracket covering the display connectors and carefully disconnect them.
Step 6: Install New Screen
Connect the new screen’s cables to the motherboard.
Step 7: Reassemble the Phone
Secure all screws, reconnect the battery, and press the screen back into place.
Step 8: Power On and Test
Turn on your device and check touch functionality, display clarity, and responsiveness.
DIY vs Professional Repair
DIY Repair
Advantages:
- Cost-effective
- Learning experience
- Immediate repair
Disadvantages:
- Risk of damage
- Requires tools and skills
- No warranty
Professional Repair
Advantages:
- Expert handling
- Warranty coverage
- High-quality parts
Disadvantages:
- Higher cost
- Time required
Cost of iPhone 5 Screen Replacement
The cost varies depending on location and service type.
DIY Cost
- Replacement screen: $15–$40
- Tools: $10–$20 (if not already available)
Professional Cost
- Local repair shops: $30–$70
- Authorized services: $70–$120
Choosing the Right Replacement Screen
Not all replacement screens are equal. Consider the following:
OEM vs Aftermarket
- OEM (Original Equipment Manufacturer): Best quality, higher price
- Aftermarket: Affordable but may vary in quality
Display Quality
Ensure the screen offers good brightness, color accuracy, and touch sensitivity.
Warranty
Choose a product with at least a 30-day warranty.
Common Mistakes to Avoid
Using Metal Tools Improperly
This can damage internal components.
Skipping Battery Disconnection
Always disconnect the battery to avoid short circuits.
Over-tightening Screws
Too much force can damage threads or components.
Ignoring Cable Alignment
Improper connection can lead to display issues.
How Long Does the Replacement Take?
- DIY repair: 30–60 minutes
- Professional repair: 15–30 minutes
Time may vary depending on experience and tools available.
Benefits of Replacing Your iPhone 5 Screen
Improved Usability
A new screen restores touch sensitivity and clarity.
Cost Savings
Replacing the screen is cheaper than buying a new phone.
Extended Device Life
You can continue using your device for years.
When You Should NOT Replace the Screen
Sometimes replacing the screen may not be worth it.
Severe Internal Damage
If the motherboard is damaged, repair may not help.
Outdated Device
If your phone struggles with modern apps, upgrading might be better.
High Repair Cost
If repair cost is close to buying a new phone, reconsider.
Tips to Protect Your New Screen
Use a Screen Protector
Tempered glass protectors add an extra layer of safety.
Invest in a Good Case
Shockproof cases reduce damage from drops.
Avoid Extreme Conditions
Keep your phone away from heat, water, and pressure.
Frequently Asked Questions
Is it easy to replace an iPhone 5 screen?
Yes, with the right tools and patience, beginners can do it. However, caution is necessary.
Will replacing the screen affect performance?
No, if done correctly, it will restore performance rather than affect it.
Can I reuse my old home button?
Yes, but you must transfer it carefully to the new screen.
Do I need special skills?
Basic technical skills and attention to detail are enough.
Final Thoughts
The iphone 5 screen replacement process is a practical solution for anyone dealing with a damaged display. Whether you choose to repair it yourself or seek professional help, understanding the process ensures better results.
Replacing the screen not only restores your device’s functionality but also extends its lifespan. With proper care, your iPhone 5 can continue serving you efficiently for years.
If you’re confident with tools and instructions, a DIY repair can save money. Otherwise, professional services provide peace of mind with guaranteed quality.
Conclusion
A cracked or defective touch screen doesn’t necessarily mean the end of your iPhone 5 device. You can fix it by using the right approach, tools, and information. You have learned all it takes by going through the above guide.
Take your time, be patient, and follow all the steps provided in the above guide to enjoy your device as before.